Video by Vladimir London
Enroll in the Life Drawing Academy now!
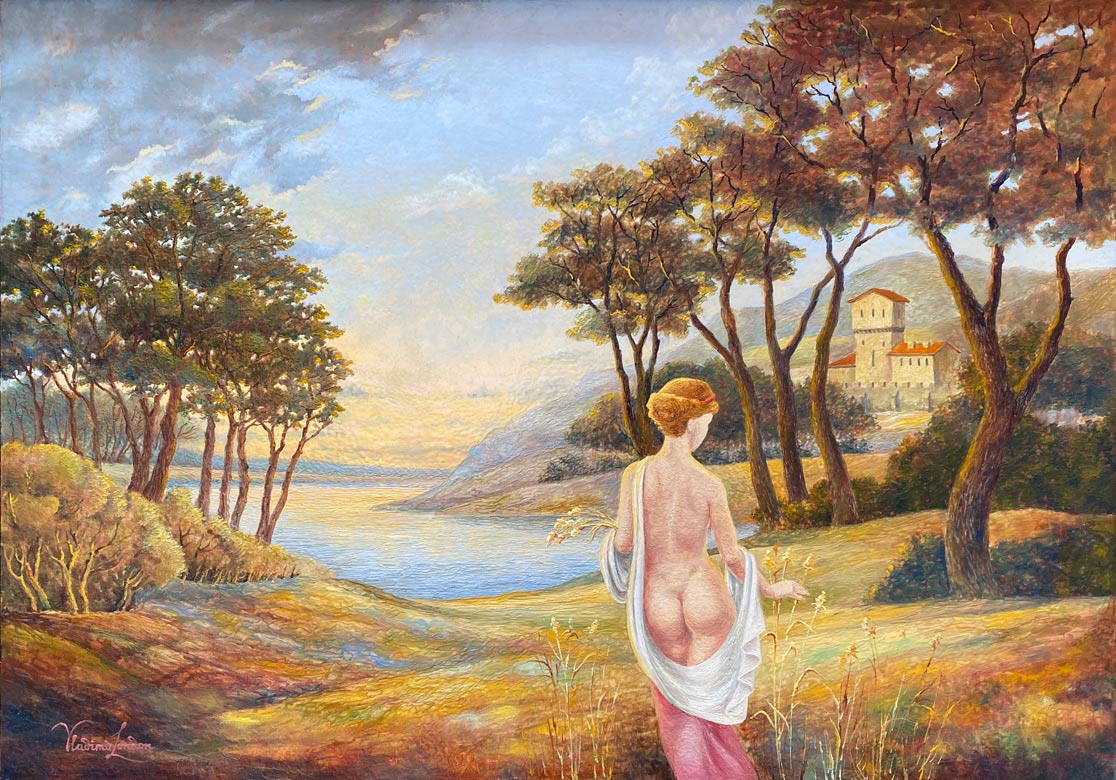
Encaustic Landscape by Vladimir London
In this video, you will see the entire process of making this artwork, beginning from preparatory drawing to the finishing brushstrokes.
I will first prepare a wooden support - a thick plywood board that measures 70 by 50 centimeters. Its surface will be sized in animal glue and then covered with white chalk ground. For glue, I will use gelatine, which was soaking in cold water overnight and now has to be heated to be completely dissolved. It is very important not to overheat animal glue otherwise it would lose its gluing properties. This board has been already sized with two coats of glue and requires white ground. I prepare such ground by mixing melted gelatine with calcium carbonate, which is very fine dust of chalk, limestone or marble. Such a ground recipe is a very old one and has been used by painters for thousands of years. To remain liquid, glue has to be warm. I mix it with chalk dust thoroughly. Several layers of this ground would be required to achieve good support for painting. I usually apply three coats. Every layer has to dry overnight and I then sandpaper it to achieve a smooth texture. The ground mixture is applied on the board with a flat synthetic brush that leaves minimal texture of brushstrokes. When this ground dries it becomes whiter because wet chalk is semi-transparent and only dry pigment appears opaque.
While the board is drying, I will make a preparatory sketch on paper in graphite pencil. Encaustic is transparent medium and that is why I would like to keep the white board clean, erasing and redrawing marks would not show through and spoil an artwork. For the design, I use the gold mean callipers. It is the simplest way to ensure golden proportions in drawing. Watch the video about golden proportions to find out how to use them in your artworks. This is a rough sketch to outline an idea and I will further work on the actual design based on that sketch.
To make this composition more interesting, I will add a female figure. The inspiration came from ancient Greek and Roman art. Here's my sketchbook with sketches done in museums of Rome. One of the sketches depicts a male torso, which I can turn into a female body by drawing a bit narrower shoulders. This sketch was done at the exhibition dedicated to Raphael.
The composition drawing is complete. It is done in the actual size and I will use it for transferring the drawing on the board. Just to show you multiple golden ratio proportions that happen to be in this composition. They are done intentionally to make this drawing more attractive and balanced.
To transfer this drawing, I will use a sheet of tracing paper. First, this design is outlined on the tracing sheet in graphite pencil. Then, I will turn the sheet over and outline the mirror image in blue and red pencils. Afterwards, this tracing sheet could be placed on the board face-side up and outlined once again to transfer the drawing. This way, only the necessary lines will be on the board without redrawing and erasing.
When the drawing is transferred from the cartoon to the wooden board, I can do underpainting in four colors. For this purpose, I will use wood dye inks, which are permanent and strong. The limited palette of colors goes according to the Flemish method of oil painting when underpainting is done in brown monochrome to be later overpainted in full colors.
The female figure is a variation of one famous ancient fresco. I want to link it to the ancient medium of encaustic in this artwork.
When the underpainting is complete, I will cover the whole surface with the encaustic medium slightly colored in warm brown color. This medium is done to my recipe and serves two purposes. It has to seal the chalky ground and also act as an imprimatura, which is the very first color layer in the Old Masters oil painting. Although I will paint in the beeswax medium, not oil, the steps could be similar. For this medium to be liquid and penetrate under the surface, it has to be heated.
Here are my DIY encaustic paints. They are bright and solid and to apply such paints, I will use very special encaustic brushes that I designed myself. The process of encaustic painting is rather laborious. A small amount of paint is melted by the brush and then applied on the picture surface. The beeswax medium solidifies almost instantly, in about two seconds when it touches the cold ground. The encaustic painting technique is challenging, but exciting. It requires good knowledge of art materials and special equipment. Even though paints solidify so quickly, they can be melted again and again directly on the painting surface, so this medium is always solid, but always ready for painting.
The history of encaustic painting began at about 600 B.C. in ancient Greece and then spread to Egypt and further across the Roman empire. By the middle of the first millennium, the know-how of encaustic painting was completely forgotten and had to be reinvented in the second half of the second millennium. Today, we have a bit better understanding of what encaustic medium is and how to use it for making works of art, but there are many questions that still remain unsolved, for example what is Punic wax, mentioned in the old books.
I see my mission in reviving the ancient art of encaustic and constantly try new recipes and work on developing new tools, paints, mediums, supports and methods for encaustic painting. To see my other encaustic artworks, visit VladimirLondon.com
This painting is now complete. I will buff it up with a soft cloth to make the surface shinier. The transparent encaustic paints glow with natural lustre and I really like how this artwork came out. To learn the Old Masters painting techniques, get free painting tutorials at Old Masters Academy
To learn good drawing techniques, enroll in the Life Drawing Academy course:
Online Course
A self-study, self-paced course for you to learn fundamental methods of classical drawing and improve life drawing skills by watching video lessons and doing assignments
- Unlimited access to 52 life drawing video lessons
- Lifetime membership without deadlines
- Unlimited support from the Academy tutors
- Constructive critique of your artworks
- Member access to the Academy's Art community
- Place in the Academy's Students Gallery
- Exclusive members-only newsletter and bonuses
- Life Drawing Academy Diploma of Excellence in your name
One-time payment - Lifetime membership
$297 USD
Personal Tutoring Online + Online Course
The ultimate choice if you who would like to receive personal, one-to-one tutoring from the Academy teachers, which is custom-tailored to your skills and needs
- Everything in Online Course, plus:
- Dedicated team of art tutors
- Assessment of your current level of drawing skills
- Personalized curriculum tailored to your skills and goals
- Up to 100 drawing tasks with by-task assessment
- Unlimited one-to-one personal coaching with detailed per-task instructions and feedback
- Artwork critiques and results-oriented guidance
One-time payment - Lifetime membership
$997 USD


