How to Make a Paper Hand Model
Video by Vladimir London
Enroll in the Life Drawing Academy now!
How to Make a Paper Hand Model

This video is created for Life Drawing Academy students who take personal tutoring in the Correspondence Course.
One of the tasks of this course is making a hand model for drawing from life. If you are one of those students, you will get the printable template with written instructions. To make a paper model, just follow the instructions step by step. You need to print out the PDF file at 100% scale. At this scale, this sculpture will be at a life size. For printing, use heavy-weight 180 gsm paper. Any thinner paper will not hold its shape and any heavier would be too thick to cut. You need to cut out all parts along the solid black lines. There are only six parts in total; this is the simplest body part paper sculpture you will have in this course. For cutting, use a sharp craft scalpel. If its blade is not brand-new, you need to replace it. Do not use scissors; they are not good for this purpose. For cutting straight lines with precision, use a metal ruler. Needless to say that some cutting mat is required as well. If your fine motor skills and steady hands allow you to make cuts without a ruler, you may cut out the gray flaps freehand. For all other lines, use a ruler even if you are confident that you can make straight lines without it.
The next step is to indent all dashed and dash-dotted lines with a metal needle. This step is critical; you cannot skip it. Without such pressed-down notches it would be impossible to achieve crisp and clean folds. Once again, you must use a ruler for this job.
Every part has dashed and dash-dotted lines. Fold paper inward along all dashed lines. Those boundaries that are dash-dotted, have to be folded outward. If you indented all such lines not too shallow, folding paper would be very easy. Indents should not be too deep though, otherwise paper might split; especially when moistened with glue. Keep folding every part along all dashed and dash-dotted lines.
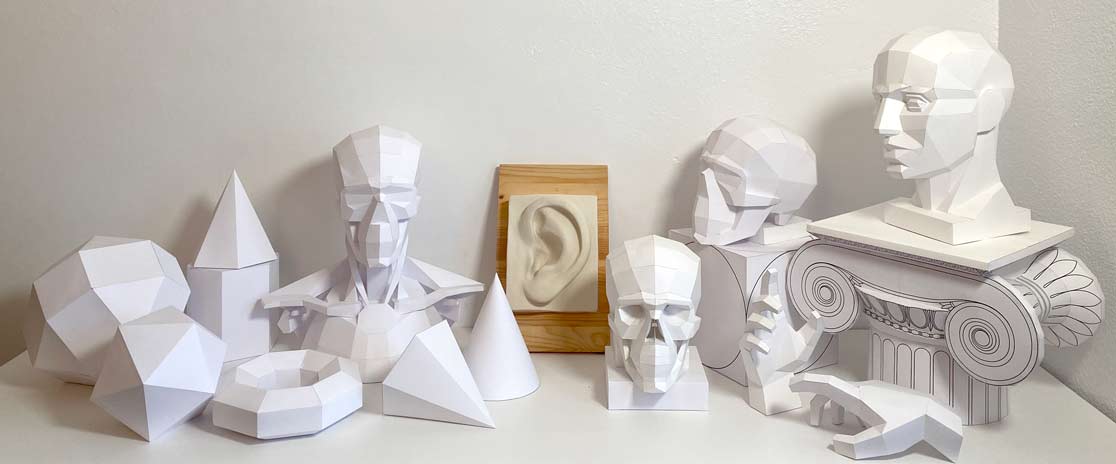
If you are not a drawing course student and wonder how to get such a template; the only way is to sign up for the Life Drawing Academy Correspondence Course. This also applies to students of the Life Drawing Academy Online Course, who need to upgrade their membership to get personal one-to-one tutoring that includes 100 art tasks, including making models for drawing like this one. In the Correspondence Course, apart from the model of a hand, students get many other paper models, such as numerous geometric solids, models of a human skull, low-polygon head, and shoulder girdle. Such models are unique to the course and not available to purchase separately anywhere else.

For gluing paper parts together, prepare a small piece of paper for glue and also cut out paper brushes. Such brushes are disposable and very easy to make. A small piece of paper folded in half for higher rigidity is all that takes for such a brush. Make several brushes at once because they will become softer when saturated with glue. For gluing, use PVA wood or paper glue that dries colorless. It must be strong and fast drying. A wrong glue would be a major obstacle in making a paper model.
Along paper edges, you will see small numbers. Edges with the same numbers should be glued together. It doesn't matter from which part you will start. This model is very simple and can be assembled in any order.
Apply a very thin coat of glue on the white side of a gray flap. It is critical to apply glue as thin as possible without missing any spots. A thick coat of glue would take longer to dry, it would be more difficult to assemble parts, and also excessive glue would pollute paper . But most critically, too much glue would cause waves on paper because PVA glue contains water and water expands paper.
The gray flaps must be glued inside the model. If you use the right amount of glue, it would take only several seconds for it to dry and hold parts together firmly. Squeeze parts gently but firmly with fingers and wipe out any small drops of glue with a paper napkin.
When a paper brush tip becomes softer after one or several times, use a new one. Continue connecting parts with the same numbers one after another.
While I'm making this hand model, I will tell you a few words about it. Drawing hands is one of the most difficult topics for figurative artists. Many find drawing hands from life and especially from imagination even more difficult than drawing portraits. There is a reason for that. A human hand has a very intricate structure. It contains 14 phalangeal bones, five metacarpal and eight carpal bones, 27 bones in total. It is nine times greater than in the entire arm. Every phalange and metacarpal is in golden proportion to the next one. Every bone can perform certain movements. No wonder that without a good understanding of the hand construction it is difficult to depict it realistically. The most common mistake a beginner artist makes is drawing five sausages in a hope that this bunch would look like a hand. Those artists with knowledge of anatomy also have troubles with drawing human hands because anatomy alone is not enough. The common mistake they make is distorting bent fingers by rotating them randomly.
There are several know-hows a fine artist must know to draw hands realistically. One of such secrets is that axes of phalanges remain parallel to each other when fingers are flexed. Another secret is that every phalange has four planes - top, bottom and two sides. They are not obvious in life, but when you learn to see them, it greatly helps in drawing. There are many other things you must know to draw believable and natural-looking hands. This model was designed to help you to see and understand the hand's geometry. Making such a model at home provides the first-hand experience of learning the hand's planes on a tangible basis. Drawing such a model from life will prepare you for drawing real hands. This model solves major obstacles for art students - when they draw this model from different points of view, they become familiar with how four planes of each phalange look in perspective; how their phalangeal borders remain parallel with different movements of fingers and how to deal with foreshortening. Such a must-have experience stays with students for the rest of their lives and when they draw hands from life, memory or imagination they remember how to deal with complex geometry and perspective.
Apart from the unique paper models, Correspondence Course students also get special templates for sculpting in clay various objects, including facial features like eyes, nose, mouth and ears. All such models are used for drawing from life.

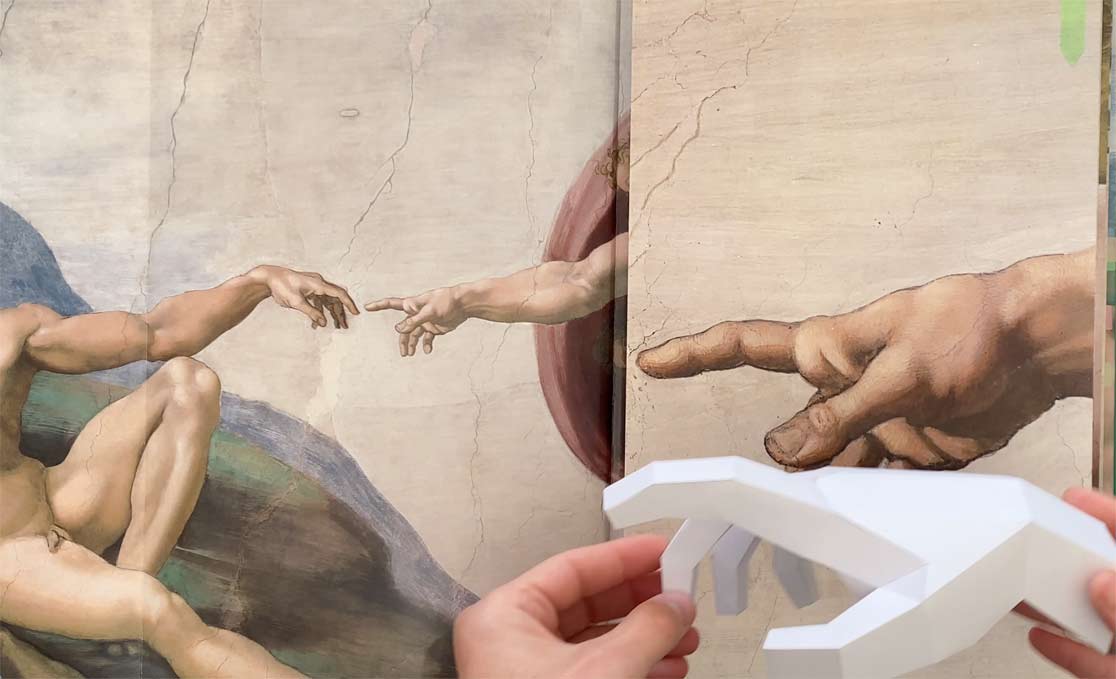
Here's the finished paper hand model. Its gesture reminds God's hand from the most known painting by Michelangelo - Creation of Adam. I'm sure you have seen this artwork many times; now you can have a hand model based on this masterpiece. To get this and many other model templates, and to learn how to draw whatever you see or imagine, take the Life Drawing Academy Correspondence Course.
To learn good drawing techniques, enroll in the Life Drawing Academy course:
Online Course
A self-study, self-paced course for you to learn fundamental methods of classical drawing and improve life drawing skills by watching video lessons and doing assignments
- Unlimited access to 52 life drawing video lessons
- Lifetime membership without deadlines
- Unlimited support from the Academy tutors
- Constructive critique of your artworks
- Member access to the Academy's Art community
- Place in the Academy's Students Gallery
- Exclusive members-only newsletter and bonuses
- Life Drawing Academy Diploma of Excellence in your name
One-time payment - Lifetime membership
$297 USD
Personal Tutoring Online + Online Course
The ultimate choice if you who would like to receive personal, one-to-one tutoring from the Academy teachers, which is custom-tailored to your skills and needs
- Everything in Online Course, plus:
- Dedicated team of art tutors
- Assessment of your current level of drawing skills
- Personalized curriculum tailored to your skills and goals
- Up to 100 drawing tasks with by-task assessment
- Unlimited one-to-one personal coaching with detailed per-task instructions and feedback
- Artwork critiques and results-oriented guidance
One-time payment - Lifetime membership
$997 USD


