How to Sculpt an Ear Video
Enroll in the Life Drawing Academy now!
How to Sculpt an Ear
By Vladimir London, Life Drawing Academy tutor
In this video, you will learn the unique method of ear proportions, which was developed by Vladimir London. This method is taught in the Life Drawing Academy course
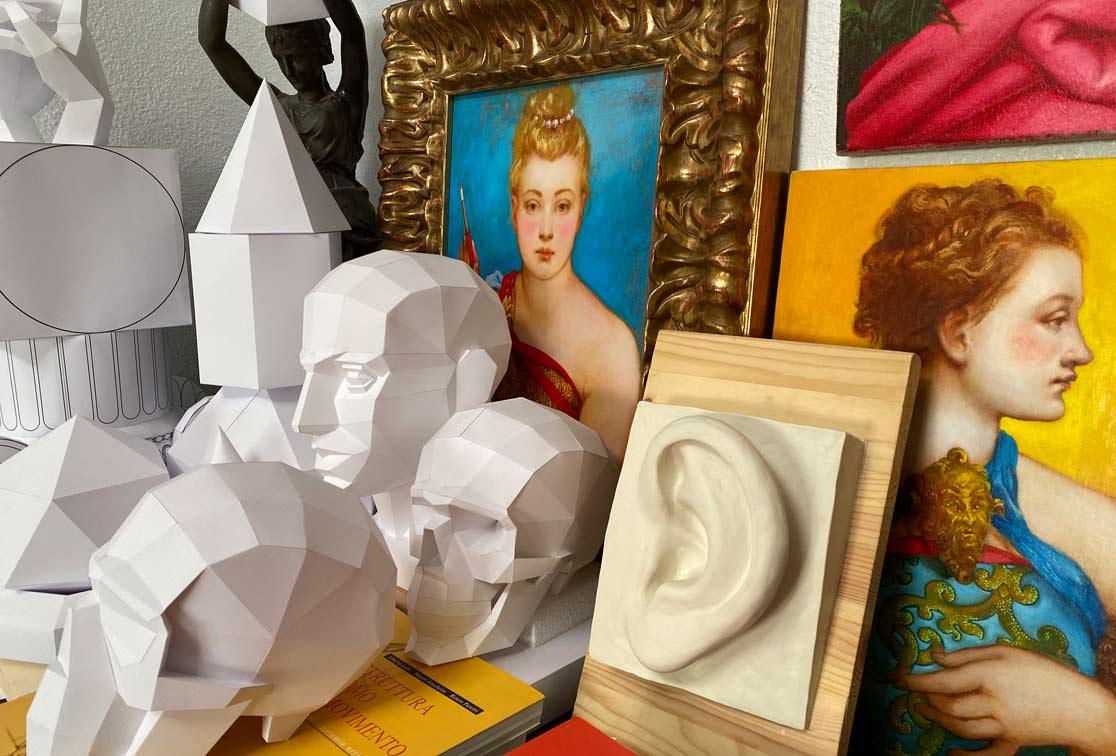
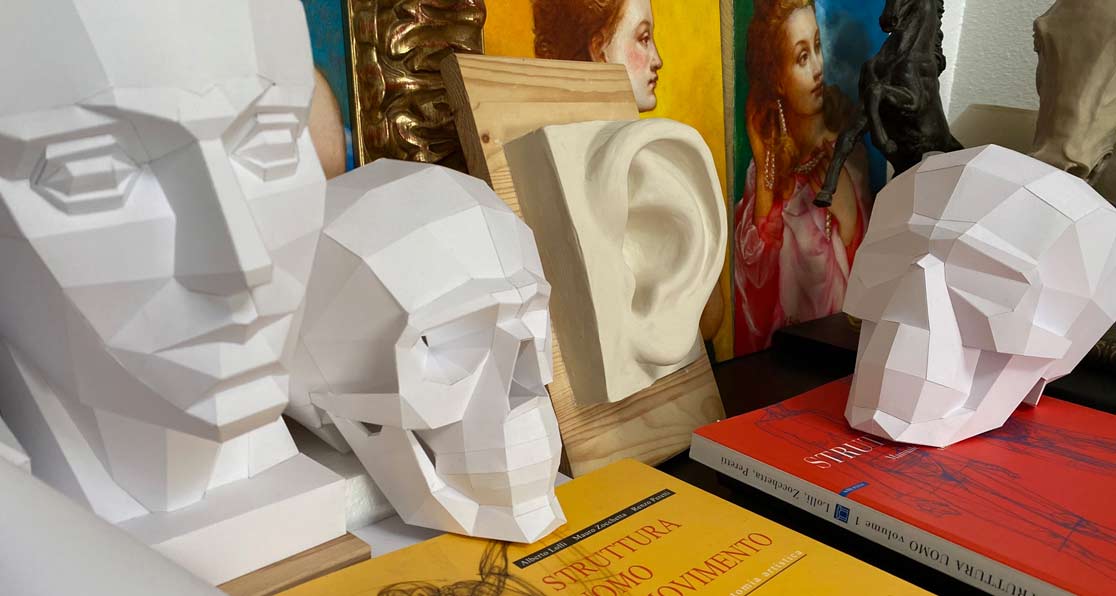
This will be a model for drawing an ear from life. I will use Newplast, which is a non-drying modelling material. You can use any clay or plasticine for that purpose. Apart of clay, you will also need some simple sculpting tools. First, I will draw a square on this board. It will be 15 x 15 cm. You can do any size you like, but keep it rather big because it will be a model you can then draw from life. With the square in place, I can begin sculpting. First, I will do a rectangular plinth. Apply small pieces of clay to build up the base. This base could be rather rough at this step. It is about building up material rather than smoothness. I think the ear model would look better on the rectangular plinth. So, I will make it 15 x 18 cm. The rectangle is covered and I will now build up its thickness and work on its surface shape. I'm using smaller pieces of clay to achieve higher precision. It's time to level up a bit the rough surface of this rectangle. I also need to smooth up the surface before drawing the ear's proportions.
To begin with proportions, I divide the ear's height into three equal parts. The ear's width is 2/3 of its height. Now, I will show you my unique method. First, I draw a big square that is equal to the ear's width. Then, I add a smaller square that is 1/3 of the ear's height. The big square fits four small squares. The line, where the ear connects to the head, is not vertical, but tilted. The ear's outline is inscribed into squares. The lower third is taken by the lobule. The middle third is taken by the concha. The mastoid process is right behind the ear. The lower jaw will protrude above this surface. And the cranium will bulge up above its base. It's time to build up the heights of these masses. The space before the sternocleidomastoid muscle is shallow. The side of the cranium is round. The surface beneath the ear is wavy. I will now smooth up the surface. Tiny pieces of clay can be added to fill uneven depressions. I need to draw once again the ear's proportions. The ear's width is 2/3 of its height. The big square at the top is equal to the ear's width. The small square at the bottom is 1/3 of the ear's height. It is twice smaller than the big square. The middle third is taken by the concha. The lower third is the lobule. A circle can be inscribed into the big square. The ear's outline follows this circle. The line where an ear connects to a head is tilted. With the main proportions in place, I can begin sculpting an ear. The tragus protects the ear channel. The concha is shallow. Some clay can be taken out to get a greater depth. The crus of helix points into the concha. The triangular fossa is formed by two arms of the antihelix. The lower arm, inferior crus, is connected to the head. Between the tragus and antitragus, there is the intertragic notch. I'm extruding some clay to form this notch. The upper arm of the antihelix, superior crus, is supporting the helix.
You can learn anatomy for artists in the fast and easy way in the Anatomy Master Class
To learn good drawing techniques, enroll in the Life Drawing Academy course:
Online Course
A self-study, self-paced course for you to learn fundamental methods of classical drawing and improve life drawing skills by watching video lessons and doing assignments
- Unlimited access to 52 life drawing video lessons
- Lifetime membership without deadlines
- Unlimited support from the Academy tutors
- Constructive critique of your artworks
- Member access to the Academy's Art community
- Place in the Academy's Students Gallery
- Exclusive members-only newsletter and bonuses
- Life Drawing Academy Diploma of Excellence in your name
One-time payment - Lifetime membership
$297 USD
Personal Tutoring Online + Online Course
The ultimate choice if you who would like to receive personal, one-to-one tutoring from the Academy teachers, which is custom-tailored to your skills and needs
- Everything in Online Course, plus:
- Dedicated team of art tutors
- Assessment of your current level of drawing skills
- Personalized curriculum tailored to your skills and goals
- Up to 100 drawing tasks with by-task assessment
- Unlimited one-to-one personal coaching with detailed per-task instructions and feedback
- Artwork critiques and results-oriented guidance
One-time payment - Lifetime membership
$997 USD


