Video demonstration by Vladimir London
Enroll in the Life Drawing Academy now!
How to Stretch Drawing Paper
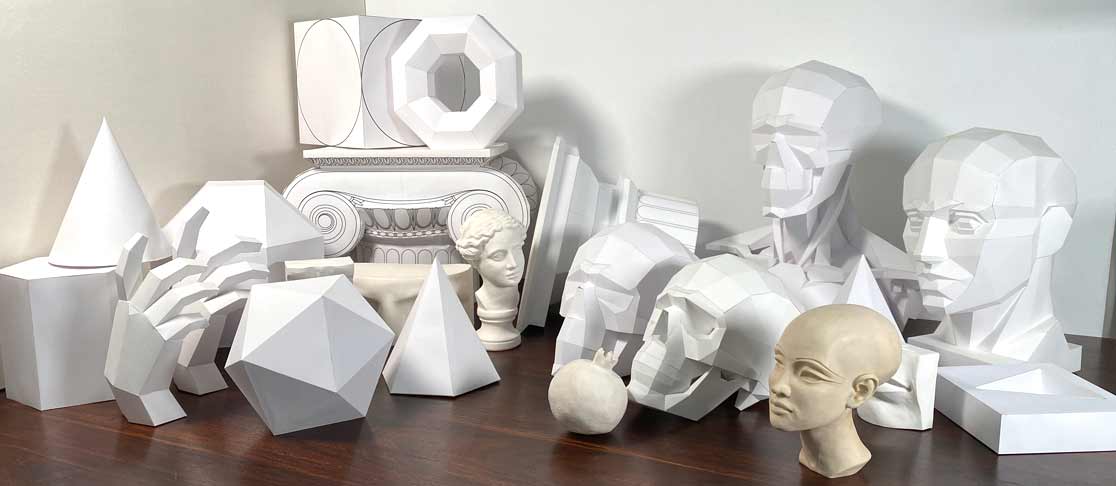
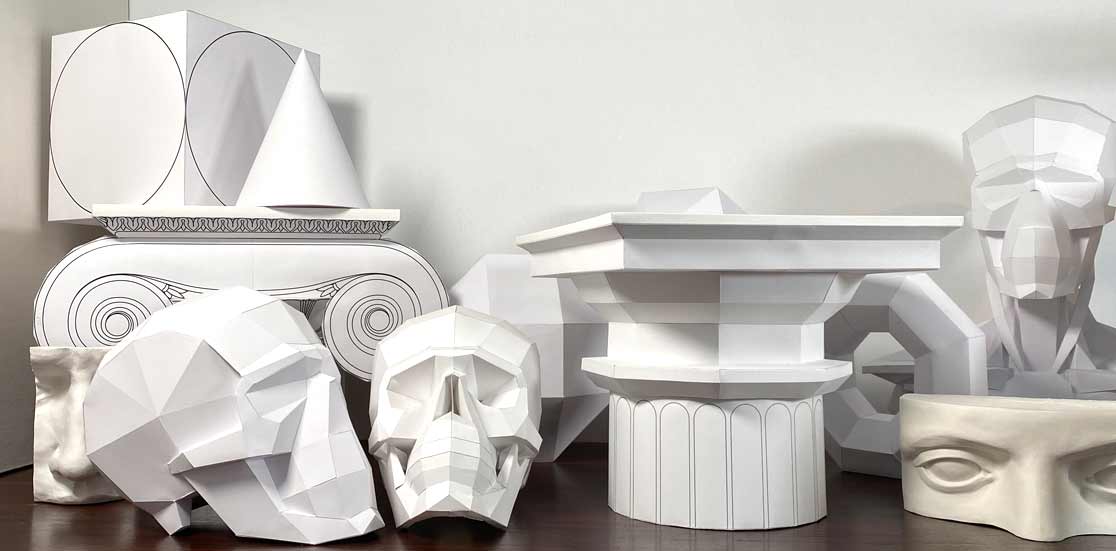
In this video, I will show you how to stretch drawing paper, but before that I will explain why I decided to make this demonstration. In the Life Drawing Academy Correspondence Course, students learn how to draw from life by making various models, like this Doric order capital and drawing such models from various points of view. Apart from this paper model, students also receive different templates they can use for making sculptures from paper and clay. They also get step by step instructions on how to draw different things using constructive drawing principles. There are 100 drawing tasks in this course, and every task teaches something new, so by the end of this personal tutoring course, a student will get the advanced level of drawing skills.

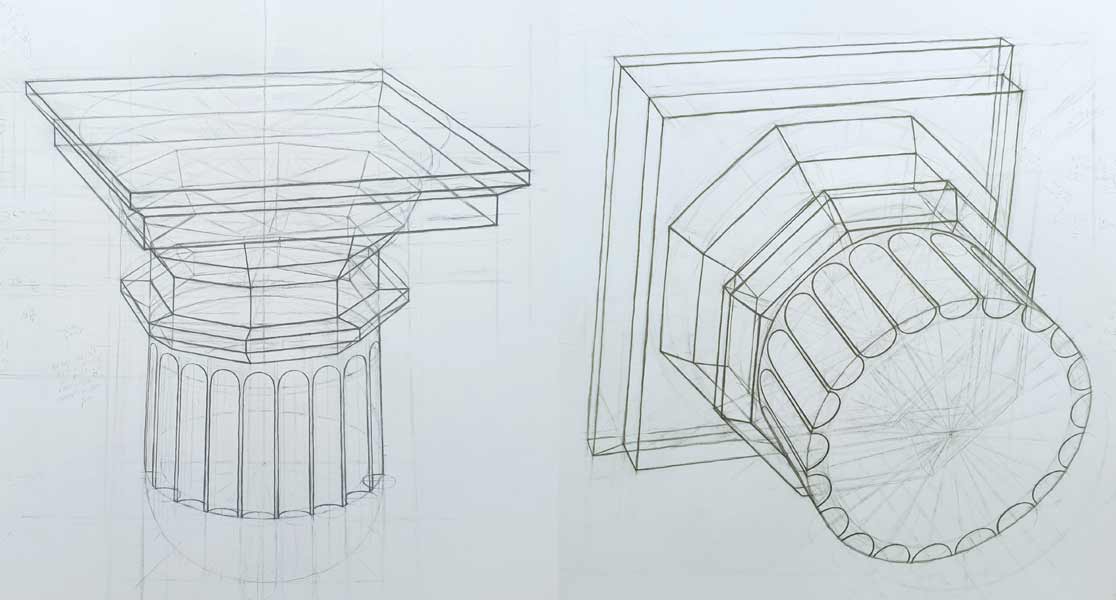
Rose, one of the Correspondence Course students, is now working on the task of drawing a Doric capital from life. Here are her drawings of a model she made at home and depicted at different angles.

Rose asked the question on how to avoid drawing paper buckling.
To prevent paper buckling, go for a good brand 300 gsm heavyweight drawing paper. Fix it to the drawing board with some masking tape or bulldog clips. However, for long-study tonal drawings, when you will render tonal values for several hours, buckling might become an issue because it would prevent smooth hatching. To avoid buckling, you may staple a big paper sheet to the board. Here is how to do it. Place the paper sheet face-side down. Wet the paper with a thin coat of clean water using a wide flat brush. Make sure that the entire surface of the paper is wetted at one side. Give several minutes for the sheet to expand. Then, accurately place a wooden board on the paper sheet, and center it. The wooden board could be 18 millimeters thick, and its sides should be about 10 centimeters smaller than paper, to allow folding. You can get a wooden board from some construction shop; it will be cheaper than art stores charge for such panels. Fold the paper edges and staple them to the backside of the board. First, staple the long side from the middle to sides with about 5 centimeter gaps between staples. You can go all the way till the end or leave some paper unstapled at both sides. Then, turn the board 180 degrees. I do it by rotating a big board that the drawing panel is placed on. This way, I do not disturb wet paper, lifting it from the board. Now, staple the opposite long side the same way. This time, for every staple, pull slightly the paper edge to make sure it is stretched. Staple from middle to both sides. The direction of pulling should be slightly diagonal from the middle. As before, you can staple to the end, or leave lateral margins till later. Then, staple the remaining short sides one after another. Once again, do it from the middle and pull the paper edge before every staple.
When wetting the paper sheet, do not over-soak it in water because it will dilute its glue and even wash it out. This would reduce the toughness of its surface. There is no need to wet the paper sheet from both sides. Wet only its reverse side. When pulling the paper edges, do not apply too much force. When this sheet dries, it will be perfectly stretched because expanded paper will shrink while drying. When the sheet is fixed to all four sides, you can continue stapling remaining edges to the end.
I hope that what you see is easy to follow. It is like everything else in the Life Drawing Academy Correspondence Course. When you have some questions, we are always ready to help and if needed, can make demo videos like this one. Needless to say, this is one of the best drawing courses in the world.

When you come to the corners, fold and staple them as well. Wait for several hours or better overnight before the paper dries completely. Drawing on touch-dry but moist paper will leave indented marks. Here is the stretched drawing paper. In several hours, it will be fully dry and ready for drawing. I hope this helps.
Vladimir London
Life Drawing Academy tutor
To learn good drawing techniques, enroll in the Life Drawing Academy course:
Online Course
A self-study, self-paced course for you to learn fundamental methods of classical drawing and improve life drawing skills by watching video lessons and doing assignments
- Unlimited access to 52 life drawing video lessons
- Lifetime membership without deadlines
- Unlimited support from the Academy tutors
- Constructive critique of your artworks
- Member access to the Academy's Art community
- Place in the Academy's Students Gallery
- Exclusive members-only newsletter and bonuses
- Life Drawing Academy Diploma of Excellence in your name
One-time payment - Lifetime membership
$297 USD
Personal Tutoring Online + Online Course
The ultimate choice if you who would like to receive personal, one-to-one tutoring from the Academy teachers, which is custom-tailored to your skills and needs
- Everything in Online Course, plus:
- Dedicated team of art tutors
- Assessment of your current level of drawing skills
- Personalized curriculum tailored to your skills and goals
- Up to 100 drawing tasks with by-task assessment
- Unlimited one-to-one personal coaching with detailed per-task instructions and feedback
- Artwork critiques and results-oriented guidance
One-time payment - Lifetime membership
$997 USD


