How to Apply Tonal Rendering
Enroll in the Life Drawing Academy now!
What to pay attention to when rendering tonal values:
- Make sure a pencil is well sharpened at all times. Re-sharpen often.
- Make sure pencil strokes are visible. Do not smudge pencil marks with a finger or stamp.
- Vary direction and style of pencil strokes. Avoid 90-degree cross-hatching.
- Lift a pencil off paper at the end of each stroke.
- Strive for beautifully looking strokes.
- Dark areas may contain dozens of layers while the light area only 1...3 layers with very light strokes.
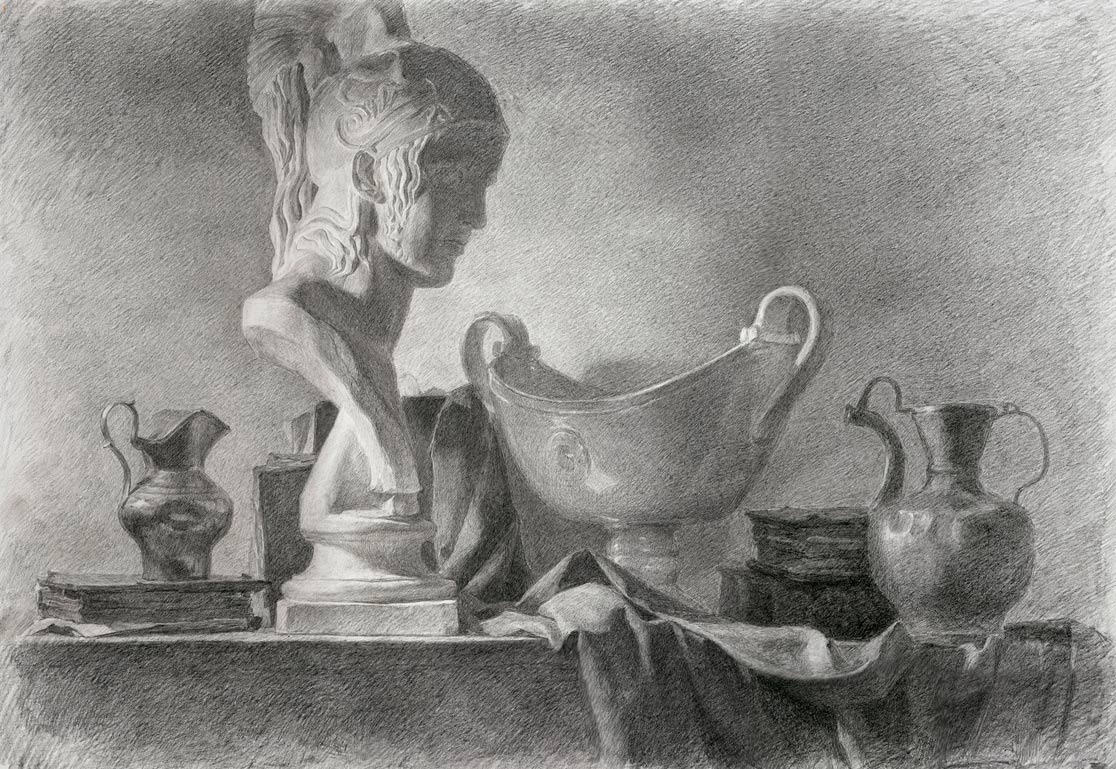
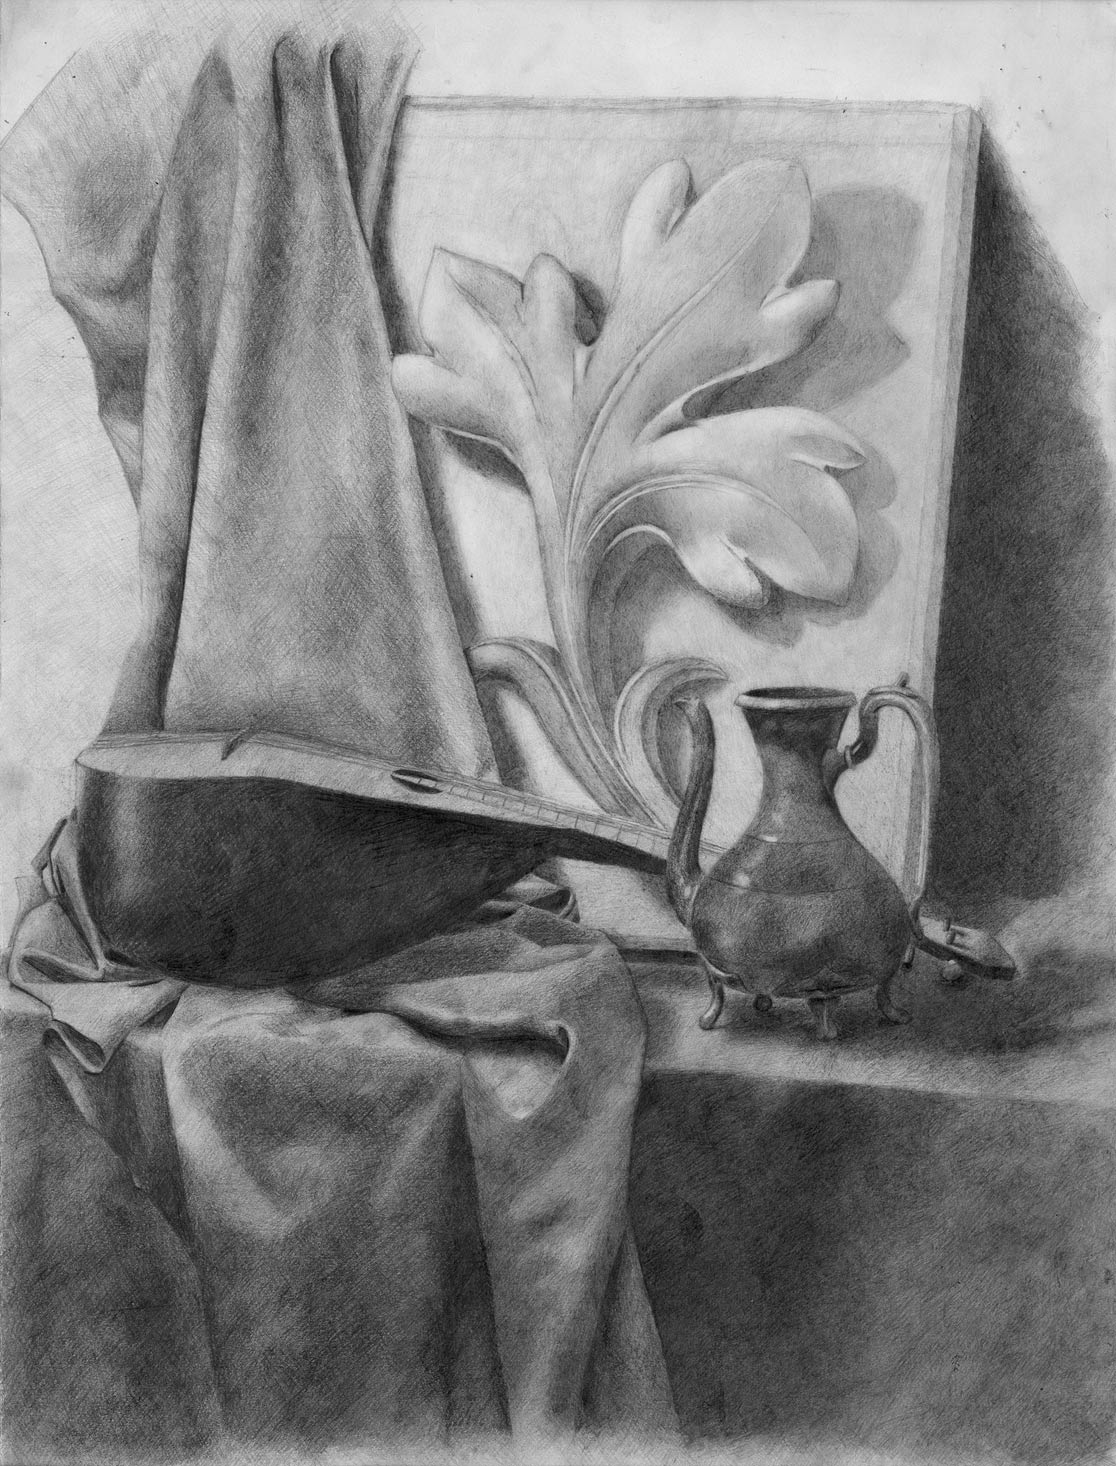
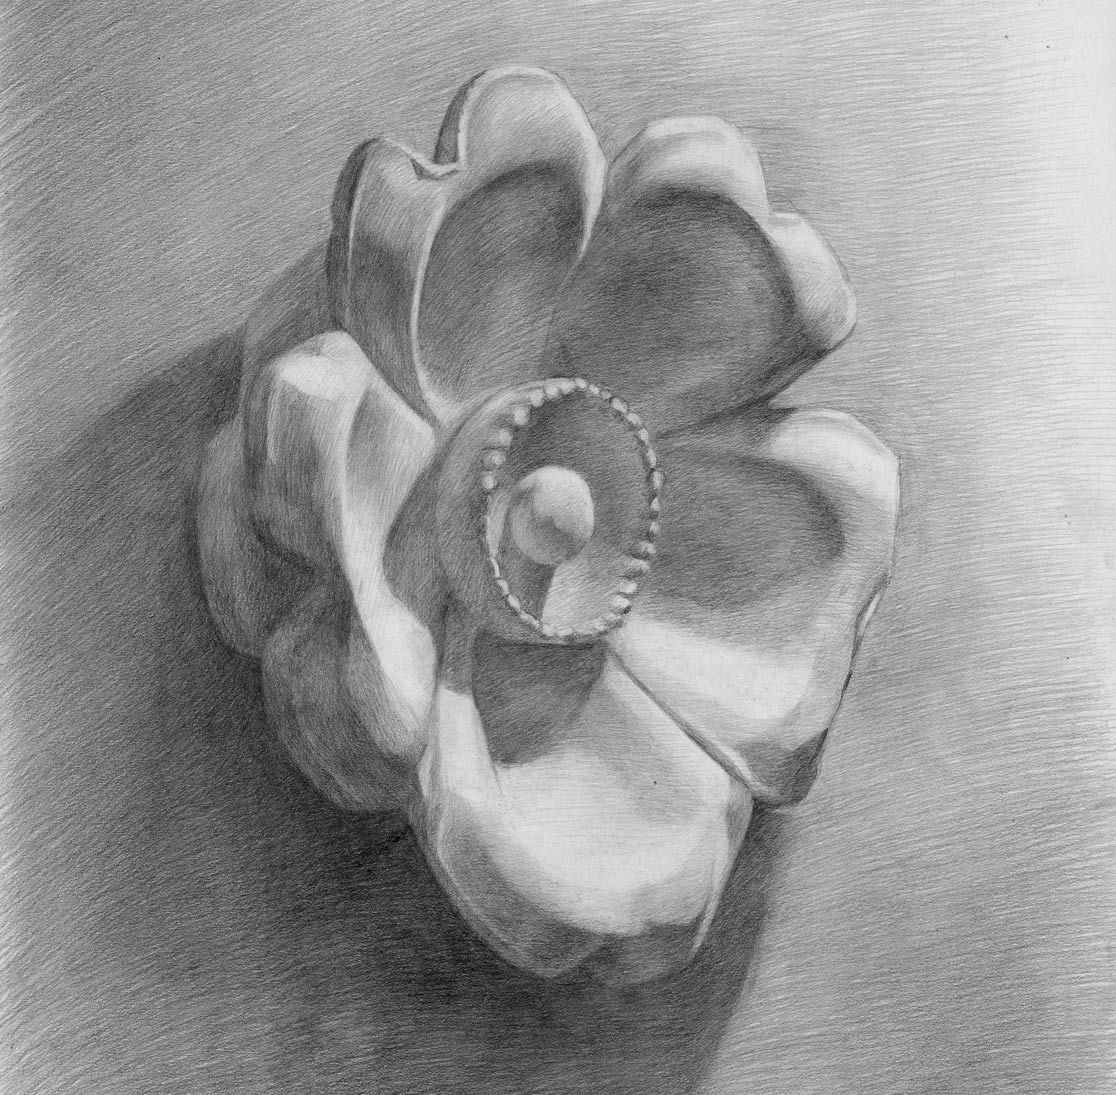
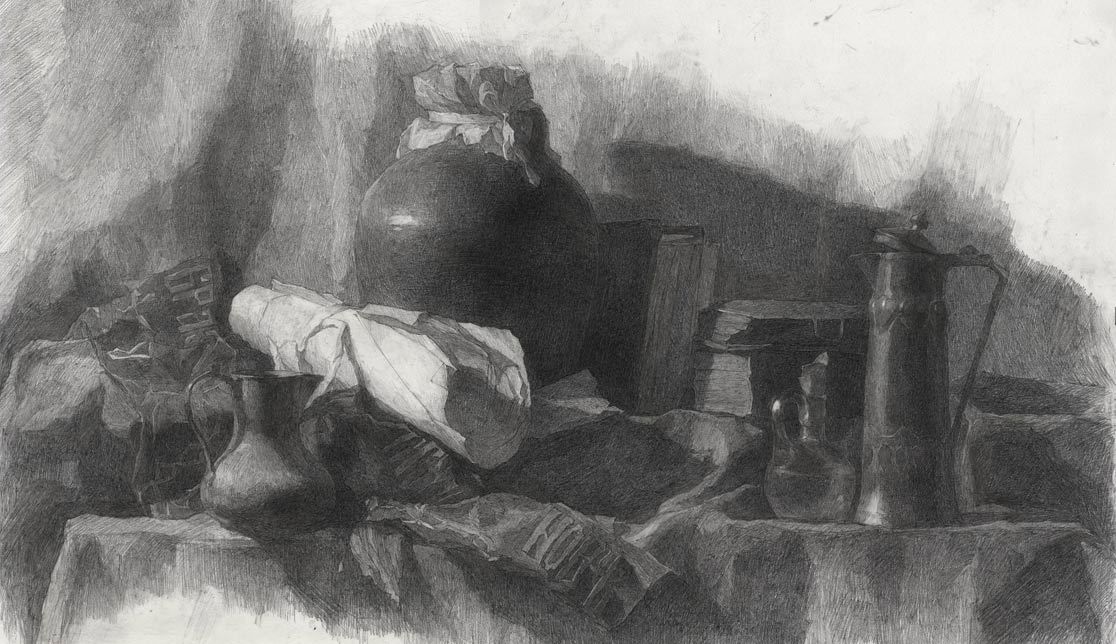
Here are a few examples of tonal drawings by students of a children art school in Nizhny Novgorod, Russia.

Tonal rendering rules:
- Sharpen a graphite pencil to a fine point. Keep it well-sharpened at all times. You may want to pre-sharpen several pencils at once to save time during drawing.
- One grade of graphite pencil, 2B for example, would be enough for the whole artwork. It is about your skills of applying different pencil pressure than using different pencil grades to make gradations of tonal values.
- Start rendering tonal values from the darkest places of your future artwork.
- Depict tonal values by applying pencil strokes in layers.
- Use very light pencil pressure at the beginning. As the number of layers grows, you may increase pencil pressure little by little.
- Apply pencil strokes along contours of an object (do not confuse with outlines).
- Crosshatch pencil strokes of different layers. Avoid 90-degree cross-hatching.
- Every patch of pencil strokes should be rendered with pencil movements in the same direction. Do not move a pencil forth and back without lifting its tip off the paper surface at the end of each stroke.
- Every stroke for the sphere should be curved along its contour.
- Every stroke for the background can be either straight or slightly curved. This depends on your creative style.
- Control the pencil pressure; it should start light, increase in the middle of each stroke and end very light before lifting the pencil tip. Do not make pencil strokes with bold ends.
- Vary not only directions (angles) of pencil strokes, but also their curvature, length and boldness. A wider range of pencil strokes (patches of strokes with different direction, length, curvature, boldness) look better than a monotone and unified series of identical lines.
- All areas of the drawing should be developed simultaneously and gradually. Do not render one part of a drawing to its full completion before others. Think of this process as developing a conventional photograph. First, the darkest spots will appear, they will be very light at the beginning. This includes the core shadow, accent and umbra. Then, as you come to the form shadow, penumbra and reflected light, deepen up the areas rendered previously. As you come to even lighter places - dark- and middle halftones, work on darker tonal values once again, so dark values and casted shadow would become gradually darker as well. Coming to the light halftone and local light, increase tonal values of all darker places accordingly. At all times, your drawing should have the correct ratio between light and dark values. This means that at any time, the difference between any two values should be constant, i.e. the umbra should be darker than the core shadow, this difference has to be in place from the beginning to the very end. The same for all other values - the core shadow has to remain darker than the dark halftone at all times, and so on.
- Do not touch the highlight. It should remain un-rendered.
- Working in layers from dark to light will allow you to stay in control of tonal values at all times. This way, you will not run out of pencil strength by accidently rendering some values to the full strength to find out later that other places have to be even darker.
- Dark places will have more layers and bolder/stronger pencil strokes, while light areas should be rendered with light pencil pressure in fewer layers.
- Pay attention to gradations of tonal values. Tonal gradations have to be very smooth from dark to light.
- Do not smudge graphite pencil strokes whatsoever; this is an amateur technique that results in mud.
- Do not make bold outlines around the objects. The object's outline should be depicted by the difference in tones of the object and the background around it.
- Render the background darker where the light part of the object is; in other places, make it lighter than the bordering object.
- Fade out the cast-shadow to the background smoothly. In life, this shadow may have a sharp outline, depending on how close the source of light to the sphere is. Nevertheless, do not make this outline very sharp. It has to be a bit sharper under the sphere and fade away to the right-hand side. Do not outline in pencil stroke the border of the casted shadow.
- Render tonal values of a background simultaneously with the objects. The sequence should depend on how dark tones are, not on what objects you render.
- Good tonal rendering should be done in thousands of pencil strokes. The process is rather slow and requires patience.
- At all times, an artwork should look complete with the correct ratio between different tonal values. The artwork might not be finished, but complete. This means that you can stop working on your tonal drawing at any step and it should look like an artist's intent to have it as is rather than an abandoned artwork.
- It is better to stop working on tonal rendering just before it is fully done than overdo it.
To learn good drawing techniques, enroll in the Life Drawing Academy course:
Online Course
A self-study, self-paced course for you to learn fundamental methods of classical drawing and improve life drawing skills by watching video lessons and doing assignments
- Unlimited access to 52 life drawing video lessons
- Lifetime membership without deadlines
- Unlimited support from the Academy tutors
- Constructive critique of your artworks
- Member access to the Academy's Art community
- Place in the Academy's Students Gallery
- Exclusive members-only newsletter and bonuses
- Life Drawing Academy Diploma of Excellence in your name
One-time payment - Lifetime membership
$297 USD
Personal Tutoring Online + Online Course
The ultimate choice if you who would like to receive personal, one-to-one tutoring from the Academy teachers, which is custom-tailored to your skills and needs
- Everything in Online Course, plus:
- Dedicated team of art tutors
- Assessment of your current level of drawing skills
- Personalized curriculum tailored to your skills and goals
- Up to 100 drawing tasks with by-task assessment
- Unlimited one-to-one personal coaching with detailed per-task instructions and feedback
- Artwork critiques and results-oriented guidance
One-time payment - Lifetime membership
$997 USD


