Sculpting lessons at Life Drawing Academy
Enroll in the Life Drawing Academy now!
How to Cast a Mouth Sculpture
Video by Vladimir London
In this video, I will demonstrate how to build a mould and cast a mouth sculpture in resin plaster. Here's the mouth model we'll get by the end.
I sculpted this mouth model in plastiline in one of the previous videos - How to Sculpt a Mouth. I can now use this wax clay model to make moulds. To keep silicone from clinging to the wooden board, I apply a thin layer of release agent on it. Make sure that such a product does not include sulphur, which prevents silicone hardening. I use a brush to apply this waxy substance. There is no need to cover the entire board, only the areas closest to the model. I also use the same releasing agent to lubricate the entire sculpture. Although silicone is unlikely to permanently adhere to plastiline, I should spread it to facilitate separation. To avoid apparent brushstrokes on the model surface, cover as thinly as possible.
The following step is to prepare the silicone. I'll weigh it precisely because a mistake might cause silicone hardening issues. This silicone has two parts that must be blended in equal amounts by weight or volume. It is better to measure with some accurate scales; this one has one-tenth of gram accuracy.
The component "A" is clear, so I place it first in the measuring cup. Part "B" has to be added in the same weight or volume. It's green, which was presumably done by the manufacturer to distinguish between components "A" and "B." I measure the same weight as before, thus the mixing ratio is one-to-one. Pouring must be done precisely because I do not want to exceed the required amount since pouring back this material is not feasible. There are many various brands of silicone on the market. If you have some preferences, leave your comments below this video to share your favourite.
I will mix two parts of silicone for several minutes. Make sure to scrape the bottom and sides of the container with a stick since unmixed liquid will never solidify. This silicone dries not as fast as other brands, so I have plenty of time to intermix it as good as I can without worrying that it will harden soon.
I'll apply mixed silicone using the same brush I used for the release agent. It's a low-cost synthetic brush that can be cleaned with a paper towel and turpentine. A half-inch broad sheet of silicone wraps around the figure on the board. It does not need to be any broader. This type of silicone is rather liquid. It is simple to use. It also hardens slowly, giving you ample time to apply a thin coat. As far as I can tell, this tin silicone is designed for pouring rather than brushing on, however the manufacturer does not offer much information other than the mixing ratio. Anyway, I believe it will be adequate for mould creation.
The purpose of the first layer is to cover the whole model surface with no gaps or bubbles. It is preferable to use liquid silicone very thinly, especially for the first layer. I'll build up the mould thickness by coating the model with multiple layers of silicone once the initial layer is touch-dry. Each layer must dry before proceeding to the next. It is critical not to over-dry the silicone since the next coat will not adhere. I'll also add a thickening agent because this silicone is too liquid. Tin silicone will increase in viscosity and form a paste rather than a liquid in this manner.
Here's another model of a mouth sculpted in Monster Clay. It is already covered in release agent and appears glossy for that matter. As previously, I start brushing the first layer of silicone thinly, first covering the wooden board around the clay model. Then, I apply a thin layer on top of the model making sure that no air bubbles trapped beneath the rubber. The reason I have two mouth sculptures is because each is sculpted in a different way. We teach these methods to Life Drawing Academy students in the Correspondence Course. Such sculptures are used as models to draw from life in that course. The Life Drawing Academy Correspondence Course is one of the best drawing courses available today on the Internet. Every student gets a dedicated art teacher and personal drawing curriculum that is tailored to student's level of skills and needs. In this course, we guarantee that you will get the advanced level of drawing skills should you follow all 100 drawing tasks with required quality. Every task will be explained and demonstrate in depth. You will also receive constructive critique on every drawing you make in this course, together with advice on how to improve it and fix mistakes.
After the soft silicone mould has dried completely, I can cut off four sides, leaving around 8 millimetres of the shoulders on the board. I use a metal ruler and a very sharp scalpel for this. The scalpel effortlessly slides through the 3-millimetre-thick silicone covering. I didn't build it up thickly because the model's design is basic and a strong mould isn't required. The release agent performs well, and it is very easy to remove fragments of silicone from the wooden board. Now I'd want to put this silicone's mechanical characteristics to the test. Let's see how far it can stretch before breaking. I can easily expand two centimetres into eight, which is very good.
I'll apply a touch of release agent to the wooden board before making the hard mould to keep the gypsum from clinging to it. It is possible to accomplish this with a brush or even fingertips.
I'll use gypsum bandages to make a hard mould. I'll start by cutting the plaster band into smaller pieces. Gypsum bandages are lightweight and ideal for small to medium-sized moulds. I dip one piece of plaster band into water for approximately two seconds, allowing the water to drip off it before folding it in half. Folding is required to obtain more gypsum per square inch. Then I place that piece on the model, softly pushing it to avoid air bubbles beneath. The hard mould will be divided into two halves. That's why I start with the central line of symmetry. The gypsum fabric hardens quickly, so I have about a minute to arrange it in the shape I want. The following piece is wet and folded in half, much like the previous one. To add thickness, I'll overlap the first layer. Every subsequent gypsum bandage must overlap the preceding layer by at least one centimetre. Because of the modest size of this model, the hard mould can be rather thin. Four layers of fabric are formed by folding two layers of bandages in half. However, when the following bandages overlap, there are eight layers overall, which is more than enough for the purpose of this mould. I use a paper towel to absorb any extra water.
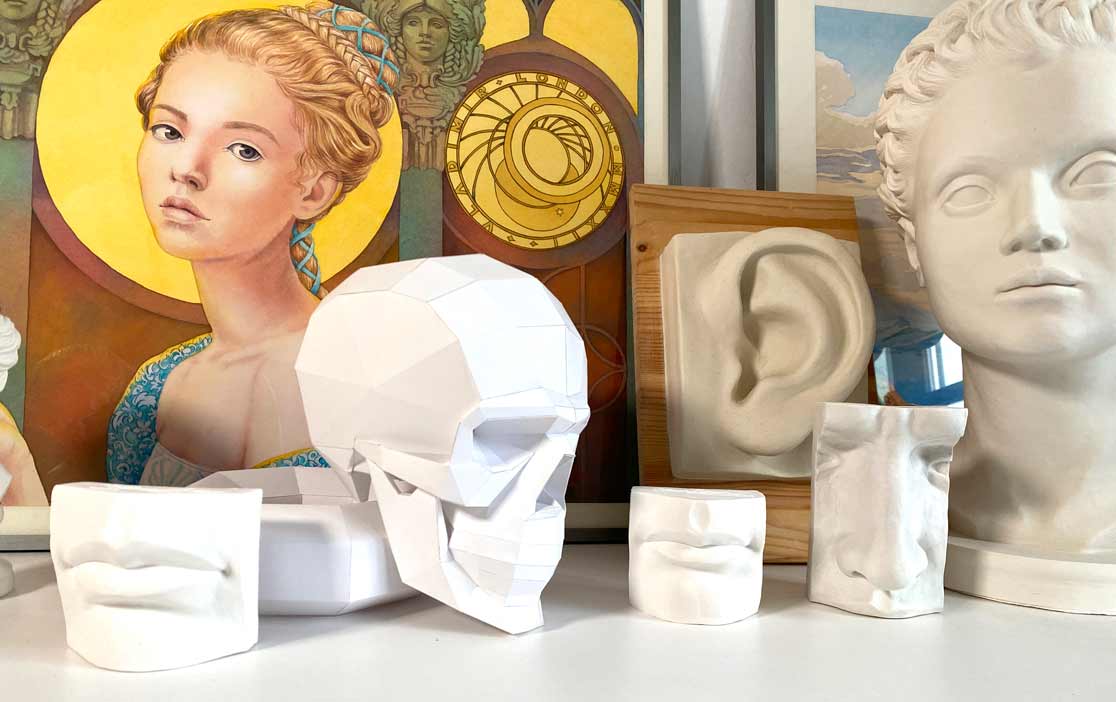
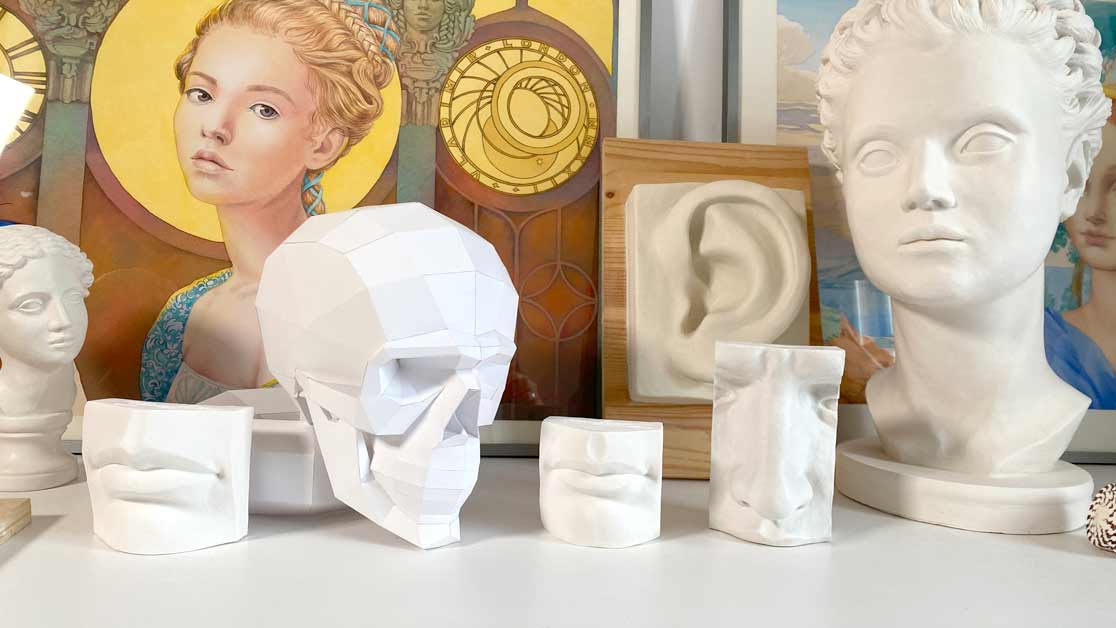
Making models of facial features as well as sculptures of a skull and head is a great way of learning human head and face proportions and construction. This knowledge is very much needed when it comes to drawing portraits from life, memory, and imagination. That is why we teach students in the Life Drawing Academy Correspondence Course not only how to draw figures and portraits, but also how to make sculptures that can be used as models to draw from.
The first half of the hard mould is completed and dried. It is preferable to let it dry for a few days or at least overnight before proceeding. Now comes the important step. I need to cover the gypsum edge with the release agent to avoid two pieces of the hard mould from fusing into an inseparable unit. I use the brush to do it thoroughly.
I'll cut additional gypsum bandage pieces for the second portion of the hard mould. It is preferable to cut numerous pieces beforehand rather than handling the bandage roll with moist hands later. The application of bandages is a straightforward process. I soak the piece, let the excess water drip off, and fold the cloth in half. To create a thicker border between two mould portions, I fold the edge again and push it against the first part. Two mould sections will be joined together to form one sturdy unit that is easy to take apart. You may notice that the border between two mould parts is not straight, but has some irregular bits, which will act as keys, so the mould can be assembled with precision without two parts moving along each other.
I can disassemble the mould once it has dried. It is preferable to wait at least 24 hours before doing so. As you can see, the hard mould has a thickness of around three millimetres, which is almost the same as the soft mould. The rigid mould is both strong and light. Two pieces joint together without any gap and irregular border between them helps to assemble parts nicely.
I can now remove the soft mould. It easily peels away from the wax-clay model. This silicone mould is incredibly thin, as you can see. It is merely two millimetres in some spots. It's also quite soft. That is why a hard mould is required to keep its shape. The soft mould precisely fits within the hard one.
The second model is also disassembled. Two parts of the hard mould fit each other with precision. The second silicone mould also peeled away. It fits the hard mould as comfortably as a hand inside the glove.
For cold-casting, the hard mould has to be levelled horizontally. To make it easier, I will use sand. This sand-bed can keep the mould in any position I will put it. Using sand is optional; you may find other solutions for that purpose.
I'll wrap the mould with masking tape to keep the two pieces together. This tape is more than enough for this job. Alternatively, you may use some rubber bands or clinging film instead of masking tape. Here's how sand helps to keep the mould level.
I'll create a wire hook before casting. A model might be hung on the wall using this hook. Making such a hook is entirely optional. Nonetheless, I'll show you how to place it into the model.
For cold-casting, I will use Fil Ceramic white powder. It has 7-minute mixing time, 30-minute hardening time and can be demoulded in one hour. It's white, fine, and tough. This bag contains 3 kilos of this ceramic plaster.
I'll need a measuring cup and scales for the following step because plaster and water can be measured by weight. Only the front side of this sculpture will be cast in Fil Ceramic because this material has premium quality and I do not want to waste it. The back side of this model will be cast in cheap plaster. The mixing ratio is stated on the bag and I will follow it precisely to get the best results. In the mixing pot, I first add water. The amount is measured by weight. Then, I will add plaster powder into water. The key point here is that dry powder should be added into water, not the other way around. I add plaster little by little, letting it to soak and absorb water. I mix plaster and water with the palette knife. A spoon is also can be used for this purpose. When mixing, I need to ensure that the mix it's homogenous and free of dry lumps.
The mixture is liquid enough to be poured straight to the mould. This needs to be done with care, not to trap any air bubbles underneath. The next step is to distribute the plaster mix evenly throughout the silicone mould, making sure it covers the entire surface without trapping any air bubbles. Because of its cream-like consistency, plaster flows nicely, especially when I shake the mould slightly. I must ensure that plaster extends all the way to the top edge. Of course, it is completely possible to make enough plaster to fill in the entire model. However, I'd want to demonstrate another method in which you may use a little amount of high-quality material, such as this Fil Ceramic plaster, for the model's surface and fill in the remainder with inexpensive plaster. The model's quality would be the same since you would be getting nice material on its surface, but the cost will be reduced because basic gypsum is around 10 times cheaper than high quality resin. So, this model is cast in two materials – expensive Ceramic outside and cheap plaster inside.
A palette knife can be used to smooth up the back surface of this sculpture. Now, I will insert the wire hook. By the way, before sticking the hook, make sure it's on the proper side and not upside down. The surface can be smoothed up with the palette knife once again.
While the first sculpture is hardening, I can cast another one. As previously, I assembled two parts of the hard mould and tape them together. The soft silicone mould goes inside the hard one. It sits perfectly well without any fixing. A wire hook is prepared for this sculpture as well. I check its size making sure it fits well inside the mould. For the second sculpture, I will be using different materials. Aqua Resin is another high-quality plaster, which is white, hard and scratch resistant. Also, I will mix this resin with finest marble dust. Here's the sample I prepared earlier to test Aqua Resin qualities. It is very white and glossy. It resembles polished marble or very hard plastic. Marble dust will reduce its gloss finish. It is very hard; I can't scratch it even with a metal tool. It's time to prepare the mix. To begin with, I measure marble dust. It is genuine marble grinded into very fine powder. I don't think they produce any finer marble dust than that. Then, I add water into marble to wet it. Because it is not plaster, it doesn't matter how to do it – adding water into powder or powder into water.
After 20 or so minutes, when marble dust sinks to the bottom, all excess water should be poured out. Now, I can measure with precision the amount of water needed for resin. Aqua resin is also added by weight. This time, it is crucial to add plaster into water, not the other way around. I'm using a spoon for mixing resin and marble dust with water. It has to be done thoroughly. Once again, the sand bowl is used to position the mould horizontally. The mix is poured into one place on the bottom of this bowl. It is important to pour it into one spot; it helps to avoid air trapping. I do it slowly and accurately. Now, the mould can be shaken and tilted slightly, so this mixture of resin can be distributed evenly inside the mould. It will take some time for resin to harden. I will rotate the mould all that time before it dries. As previously, this sculpture will be cast as a composite of two kinds of plaster – high quality resin outside and cheap plaster inside. You can see that resin hardens little by little and becomes more viscous. When it hardens, it's time to prepare the second part of plaster. I mix it with a spoon and use this spoon to fill in the mould. Of course, it is easy to make this plaster more liquid, but I want it to be strong and for that purpose less water is required. The back surface of this sculpture can be smoothed up with the palette knife. Before plaster sets, I will insert the wire hook. When plaster hardens more, but not totally dry, it is time to drill a small hole around the hook to make room for a screw-head or a wire. For this, I use metal sculpting tools.
These two sculptures were drying for a couple of days. Now, it's time to disassemble them. I take off masking tape. Two parts of the hard mould are disjoining rather easily. This is because this mould has no undercuts that would prevent taking gypsum halves apart. Now, the moment of revealing the finished sculpture. Soft silicone slides away and the sculpture is better than I would hope for. It is white, non-glossy, very hard, pleasant on touch, and holds every tiny detail of the original clay model, including my signature. This is a really good sculpture that can be used as a model of the mouth to draw it from life.
The second mould is also disassembling nicely, without any damage to the cast sculpture. Once again, this sculpture is pleasant to look at and has everything I could wish for a model. It has all of the original wax-clay model's minute features, including my signature and date. The surface is firm and smooth. It will be even whiter when totally dry. It's a fantastic addition to my sculpture collection.
To learn good drawing techniques, enroll in the Life Drawing Academy course:
Online Course
A self-study, self-paced course for you to learn fundamental methods of classical drawing and improve life drawing skills by watching video lessons and doing assignments
- Unlimited access to 52 life drawing video lessons
- Lifetime membership without deadlines
- Unlimited support from the Academy tutors
- Constructive critique of your artworks
- Member access to the Academy's Art community
- Place in the Academy's Students Gallery
- Exclusive members-only newsletter and bonuses
- Life Drawing Academy Diploma of Excellence in your name
One-time payment - Lifetime membership
$297 USD
Personal Tutoring Online + Online Course
The ultimate choice if you who would like to receive personal, one-to-one tutoring from the Academy teachers, which is custom-tailored to your skills and needs
- Everything in Online Course, plus:
- Dedicated team of art tutors
- Assessment of your current level of drawing skills
- Personalized curriculum tailored to your skills and goals
- Up to 100 drawing tasks with by-task assessment
- Unlimited one-to-one personal coaching with detailed per-task instructions and feedback
- Artwork critiques and results-oriented guidance
One-time payment - Lifetime membership
$997 USD


